Shed Assembly Method
Thinking about your new shed but not sure how to get started? Below is an overview of how to assemble one of our sheds. They come flat packed with full assembly instructions and are at a DIY level of skill, but we suggest you have a second person to help.
We don’t have a shed assembly teams all over Australia to assist you but can suggest you look on Hire A Hubby, or Air Tasker for casual assistance.
General Tips for Shed Assembly
- When it comes to self-assembly, there are a few things to remember!
- Read completely the instructions inside your shed assembly manual.
- Protect your hands from sharp metal edges with safety gloves and protect your eyes from airborne drilling debris using safety glasses.
- Have at least two people present when handling the completed roof and wall panels. Carry them vertically with one person at each end.
- Do not finish the assembly process during wet or windy conditions. Sudden wind gusts can damage the panels and cause injuries.
- Our products are heavy, and we recommend using safe lifting techniques and getting help when transporting them. Transport the box as flat as possible, to avoid components moving around inside.
-
If the box is too heavy, open and remove the components. When removing components, they should be careful to avoid scratching underlying components
Ie. Lift components carefully out of the box, to avoid scratching underlying components
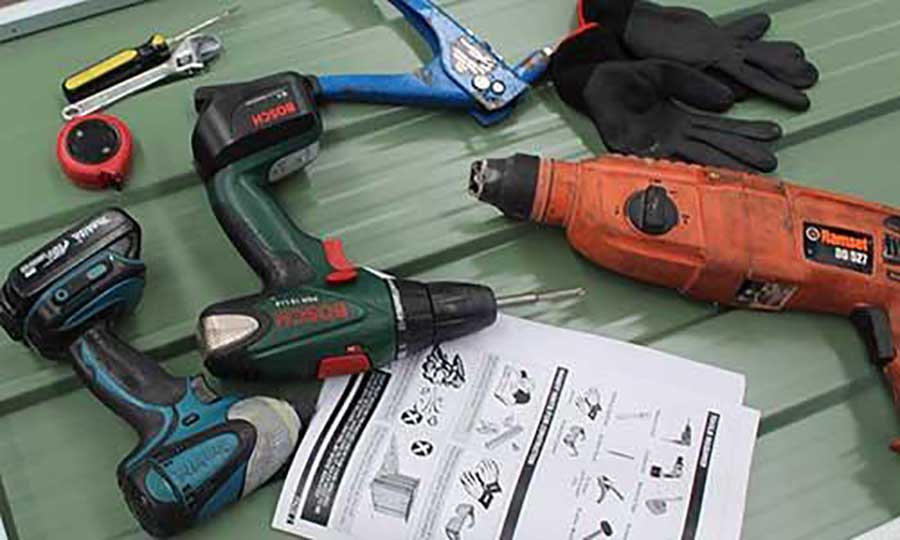
What tools do I need to build my shed?
|
|
Some shed models may require additional tools, you can refer to your assembly instructions for more details.
Work Area
Select a level work area to assemble the panels together.
Use your concrete slab or place a couple of planks on the ground.
Alternatively, the best and easiest method we suggest is to use an elevated platform. If you have a couple of trestles and four planks long enough to support the panel size of your shed, fasten the planks to the top of the trestles.
For the specific measurements needed for your shed, you can refer to your shed assembly instructions.
Anchoring Instructions
It is essential to firmly anchor your shed immediately after installation, otherwise there is a risk of damage to panels, property or persons resulting from sudden wind gusts.
Select a level site and go ahead with the recommended options for your shed base.